Saturday, August 28, 2010

Samoas Dream Cake

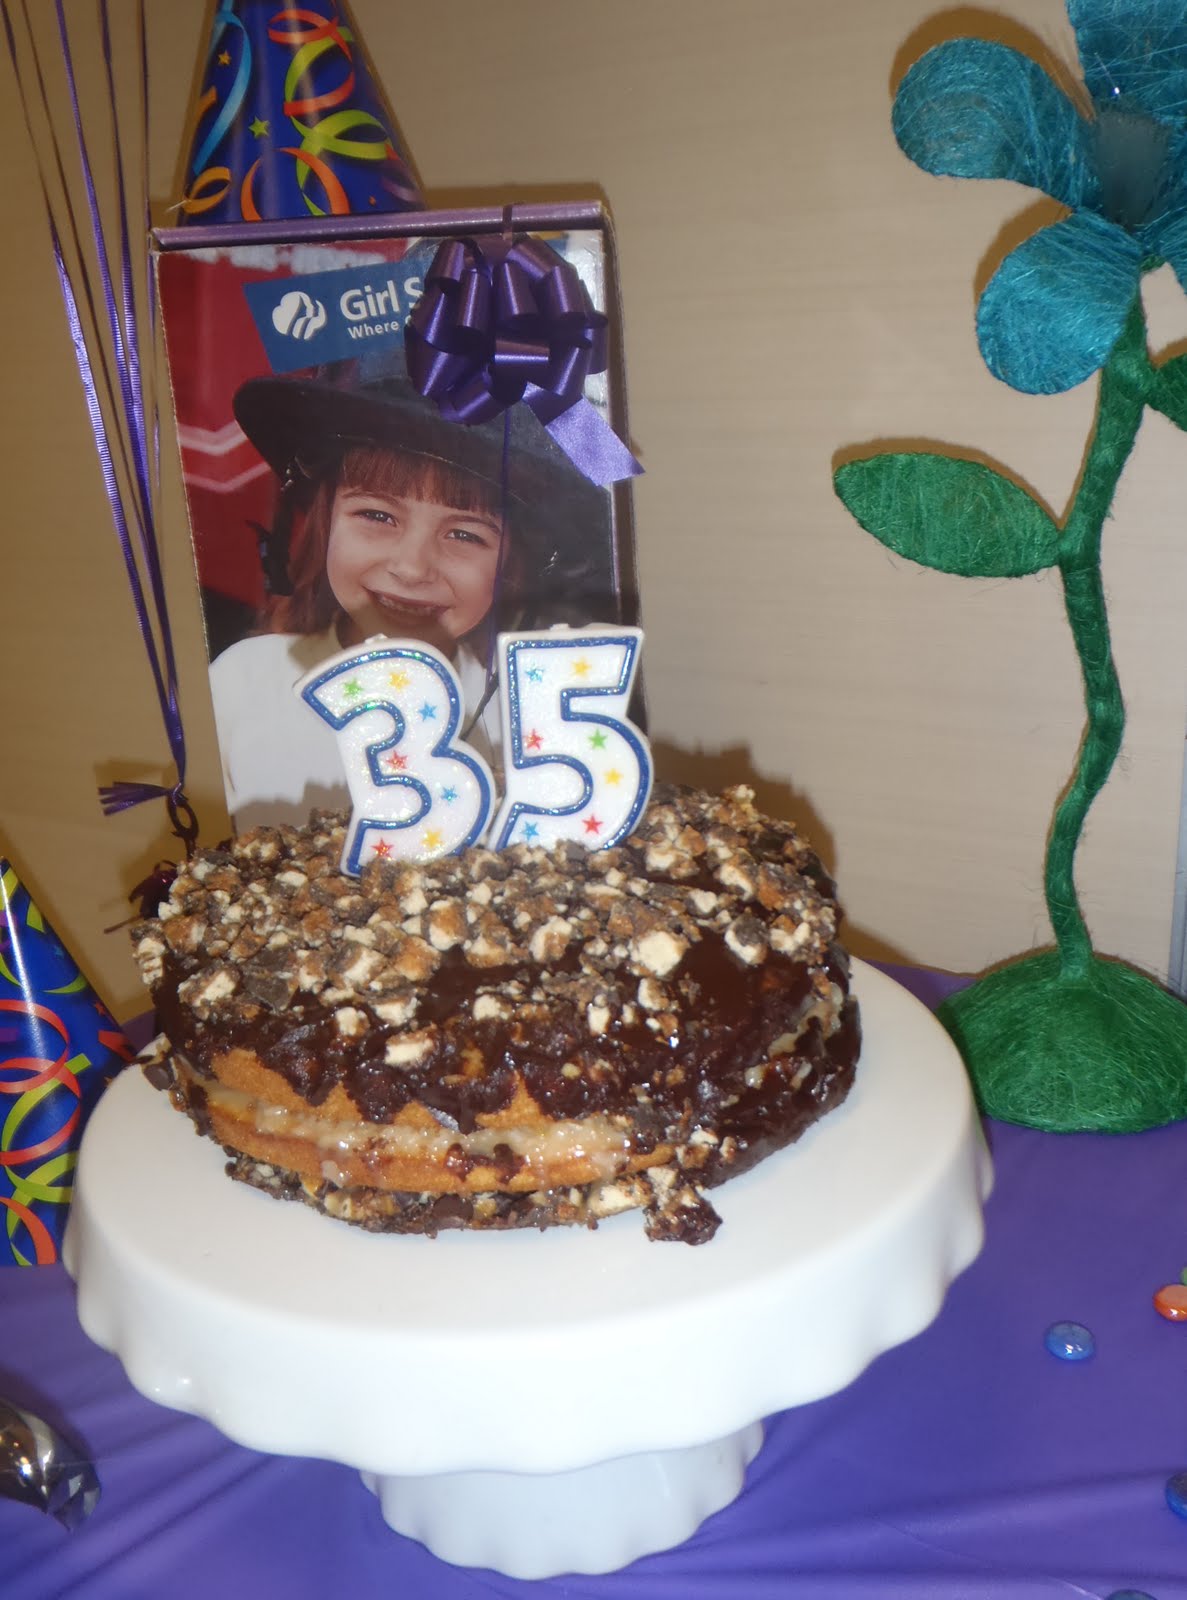
This cookie season marks the 35th birthday of the Samoas Girl Scout Cookie!

Each year, we hold an annual conference for our volunteers to kick off the Girl Scout year and get them pumped and ready to go. For this event, I was asked by the product sales team to make some cakes for their room. Once I saw the picture of the cake, I couldn't say no, I knew that I had to make it!
Here is my final version, a bit different than the recipe looked like, but more on that in a minute. :) It was quite a yummy cake!

So I glanced over the recipe, thought it was no problem and set out to shop for the goods needed to make this. Got everything home and the next day started the baking process, I read over the whole recipe and realized that there were some steps missing in the making of the cake, (mostly on the ganache) but luckily I have baked enough I was able to make it through. 
The most notable differences between my cake the one pictured on the recipe card, are that I did mine as a double layer instead of a triple (I learned with the German Chocolate Cake that triple layer yields very large pieces of cake - too much for one person, and since this was going out to the masses I thought it better to do double.) Also, the recipe said to take the cake out of the springform pan, and then put the ganache on and the chopped cookies up the sides of the cake. Well, I made 4 of these (yep that is right, 4) :) and needed to transport all of them to the event, so I just kept the cakes in the pan and put the ganache on, and let it drip down the sides some then put the cookie bits on the top of the cake. I think that it turned out well, and is probably a lot easier than trying to get the cookies evenly around the sides. So, I'd recommend doing what I did with the cookies on the top. You can make it look prettier if you do the ganache out of the pan and control where the drips down the sides are going. Also, after two cakes that the sides aren't frosted, I found I like the look of that if the cake has a pretty filling to display.

So, here we go with the how to. 
Ingredients:
For the Cake:
1 box yellow cake mix & ingredients needed to make it. 

For the Coconut Caramel Filling:
1 cup brown sugar
1 egg yolk
1 cup heavy cream
1 tsp vanilla
1 stick butter
(If you are doing a two layer cake, you can cut these portions in half)

For the crust & top:
2 box Samoas Girl Scout Cookies
2 oz chocolate chips (you can eyeball this)

For the chocolate ganache:
1 cup heavy cream
10 oz chocolate chips
(They list other ingredients for the ganache, but don't tell you what to do with them, so I just made it how I like it and I know works)

Directions:
1. Mix and bake the yellow cake according to the directions on the box using three eight inch pans. (Now, if you are doing a two layer cake you have two options. You can just bake in two pans, and have thick layers, or you can bake in three pans and still have decent sized layers with an extra yellow cake left over. This is what I opted for and let Thomas have the extra cake, with some chocolate frosting of course) Leave oven on when finished baking.
2. Prepare the coconut caramel filling by mixing brown sugar, egg yolk, cream, and vanilla.

Sunday, August 15, 2010

German Chocolate Cake


I've been looking at this recipe from the Baked cookbook for awhile, and have really been wanting to try it out. Then, it was my coworkers birthday this week and she requested German Chocolate Cake, so I jumped on it and said it of course! This was quite yummy - Baked did it again!

Ingredients

German Chocolate Cake Layers:
2¼ cups cake flour
¾ cup dark, unsweetened cocoa powder
1½ teaspoons baking powder
½ teaspoon baking soda
¾ teaspoon salt
1 cup hot coffee
1 cup buttermilk
1¼ cups (2½ sticks) unsalted butter, softened
2¼ cups sugar
5 large eggs
1½ teaspoons pure vanilla extract
4 ounces dark chocolate, melted and cooled

Coconut Pecan Filling
1 1/3 cups shredded sweetened coconut
1 cup sugar
½ cup (1 stick) unsalted butter
1 cup evaporated milk
1 teaspoon pure vanilla extract
3 large egg yolks
1 1/3 cup toasted pecans, chopped coarsely

Directions
MAKE THE GERMAN CHOCOLATE CAKE LAYERS
Preheat the oven to 350 degrees F. Butter three 8-inch cake pans (I only had 9 inch, so that is what I used and it was fine), line the bottoms with parchment paper, and butter the parchment. Dust with flour, and knock out the excess flour.
Sift the cake flour, cocoa powder, baking powder, baking soda, and salt into a medium mixing bowl. In a small bowl, whisk together the coffee and buttermilk. (I don't drink coffee, but I found these little Nescafe one cup pouches for like $1.25)
In the bowl of an electric mixer fitted with the paddle attachment, beat the butter and sugar until fluffy. (I just use a handheld mixer, so no paddle attachment for me. I just used the regular beaters and it came out just dandy)Scrape down the bowl and add the eggs, one at a time, beating until each is incorporated. Add the vanilla and beat to incorporate. The mixture will look light and fluffy.

Saturday, August 14, 2010

Baby cupcakes

The other thing I did for the baby shower was make baby cupcakes using onesies and socks. Before I did anything I decorated the onesies, because a girl has to accessorize, right? :)These are a matter of folding a rolling to get it right. It took me a couple tries to get down how to fold it, and it really is a trial and error based on what you are using to make these. You really can use any items, such as washclothes, diapers, and I used a hat for one as well.Once they are rolled up, if they are flat on top, just push up the middle from the bottom to crate the cupcake top, then pin them using straight pins. Then, if desired, cut a piece of ribbon and pin around the outside. To top these off I just took some flower, put a straight pin through the middle and put them in the top.
I put them cupcake wrappers then in a little cupcake box before giving them out. Attached to the box I put a 'baby cupcake ingredient' list, so the mom to be knows what is in there without having to take them all apart before they are ready to.
I somehow missed taking a picture of the final product, but I put them in a box like this and it came out quite cute! :)I quite enjoyed making these little baby things, and since I'll be an aunt again soon enough, I'm sure that there will be more baby items to come!

Grab & Go Changing station

My roommate forever is having a baby. Yay! She lives in Arizona now and was having a baby shower, the girls that we lived with took a little trip out to visit and attend the baby shower. I decided that I wanted to make some goodies for her. The first thing I did were these changing mats that hold a travel size wipe container and some diapers. I saw this idea somewhere, and thought it would be quite handy so I figured out how to make it work. I made two of them, because it seems like you need a spare of something like this for when one gets dirty. :)I didn't take pictures of each step of both, so I'm going to just switch the pictures of each throughout.

Supplies:
Towel (one bath sized towel makes 2 mats)
Fabric of your choice
Elastic - about 3 inches
Velcro - about 2 inches
First you want to cut the towel and the fabric to the same size. I did mine apx 16" x 24". You'll also want to cut a strip of fabric 16" x 3" to use as your strap. If you want to add any embellishments to the fabric side such as ribbon, now is the time to do that.

With right sides together, sew around the edges of the fabric and towel, leaving an opening to turn it. Turn it right side out, being sure to push corners out so they are nice and sharp (looking, no actual sharp corners in baby items!) :)
You'll then want to sew around the edge again so that each side stays in place and doesn't slide around, especially in the wash. As you are sewing around the edge, be sure to fold in the the still open edge so it gets tucked in and looks nice.

Now time to make the strap. First off, with fold the strap in half width wise (like a hamburger). This will leave you with one folded side and three open edges. Sew up the two long edges, leaving the small top open to turn the fabric. Flip it around so the right side is out, and iron. When you iron, fold the open edge in and iron.Next, sew on the elastic. Pin one edge of the elastic apx 3" from the open edge. Sew across the top of the elastic to hold it in place. Then its time to sew the sides, which can be a bit tricky. You are going to stretch the elastic out and sew it down each side in the stretched form.As it flows out the back of the sewing machine, you will see it gathering up. Great! This is what we want! :) You'll end up with the strap looking like this

Time to sew the strap on. In order to know where to sew, you want to fold up the mat. First fold in half lengthwise (hot dog style), then fold in thirds widthwise. It will end up like thisPin the open end of the strap to the middle of the folded edge of your thirds fold. Unfold everything and sew on. You'll then sew the velcro onto the end of the strap. Refold the mat (in half then thirds) and wrap the strap around to see where the other piece of velcro will be placed. Just note, that the strap will be able to go to the middle of the other side of the mat, but we are going to be putting the wipes and diapers in there, so we want it to meet the edge of the other side. Unfold and sew on the second piece of velcro.RefoldDone with the mat!
You can just put in a travel wipe pack plain, but I decorated mine to match the changing mat. I didn't end up with any pictures of how that was accomplished, but it was fabric, hot glue, and really just make it work. :) These fit diapers in the strap as well, but I didn't have any to put in, but here is the finished product!

We had a fabulous time getting together again! Happy baby Ashlea!

Thursday, August 12, 2010

Ah!!

Wowza I haven't posted anything in awhile!!
Life has been crazy, but good.
Coming this weekend....

Baby stuff - changing pad, onesie cupcakes
German chocolate cake - I'm really excited about this one! We are eating tomorrow at work, but just getting a little taste of the filling makes me think I could eat the whole thing myself. Yum!

And I'm sure I have other things to post that I'll think of, till then TTFN! :)