Thursday, December 30, 2010

Peppermint Marshmallows

 If you haven't ever had a homemade marshmallow, you are missing out! I made them myself for the first time last Christmas, and discovered that they aren't that hard to do. They do take some time to make, but the process isn't too difficult, and you can flavor them in many different ways. I've made raspberry, orange, and coconut, but this time just did peppermint.
You can find many different recipes for marshmallows, but I've only ever tried this one because it works! :) This is from the Food Network magazine Dec 09 issue. The original recipe is for and 8x8 pan, but I doubled it and will put the doubled measurements here, because who wants such a small pan of marshmallows?!
Ingredients:
1 1/2 cups cold water
4 packets powdered gelatin (1/2 ounce each)
1 c powdered suger
1 c cornstarch
1 c corn syrup
3 c suger
1 c water
1 tsp Pure vanilla extract (or whatever flavor you want to use)

Combine 1 1/2 cups cold water with the gelatin packets and stir. Set aside to let thicken.
 Cook corn syrup, sugar and 1 c water in a saucepan over med-high heat until its 235 degrees, or a soft ball stage. Ok, I just lost you...you don't have a candy thermometer and don't know what the heck soft ball stage means. Don't worry! Let me explain! :)
When you first put it on the stove it will look like this:

Then it will start to boil, keep an eye on it so it doesn't boil over.
Keep the boil going for a few minutes, and you are going to notice that it will start to thicken up.

See the difference in these two?

Orange Creamsicle Cake

Yep, its been awhile! But, I have lots to catch up on, so lets just get going with it! :)
I actually made this one mid-November, and just realized that I never posted it. It is simple, easy, fun, and yummy!
Here is what you need:
1 white or yellow cake mix (plus ingredients to make, minus the water)
Orange juice (to replace water in the cake mix)
1 pkg orange Jello (plus water to make)
1 pkg instant vanilla pudding
1 c milk (to make pudding)
1 small container of whip cream (or make your own whip cream)

Prepare cake mix according to directions, replacing orange juice for water. Bake according to directions.


Let cake cool. Once it has cooled, poke holes all over it. I used chopsticks, but anything about that size would work.
Mix jello with hot water until dissolved. Then add cold water.

Pour jello over the cake. Refrigerate to let jello set.


To make the topping, prepare pudding according to directions.Mix with whip cream

Pull the cake out of the fridge, and put the topping on! (It may look a bit like mashed potatoes, don't worry, its good!)

Saturday, November 27, 2010

The one...the only...the cherpumple!

 
A couple weeks ago my sister Heather found the dessert version of the turducken...the cherpumple! She sent the link over and her, my lil sis, and my mom decided that this is something that needed to be done. The cherpumple is all your thanksgiving desserts in one! It is a cherry pie baked in a white cake, a pumpkin pie baked in a yellow cake, and an apple pie baked in a spice cake all stacked on top of one another. Heather did a trial run, and it came out well, so we did our own version of it for Thanksgiving. 

Since Heather was going to her in-laws early in the day, the night before she made the cherry layer, and did a cherry pie in a chocolate cake. She thought they would be a little scared of it, so she'd bring most, if not all, of it back to my moms house. But, they liked it and it stayed with them, so we just had the two layer pumple. :)

In order to save time and our sanity, we bought already made pies and used cake mix, but if you wanted to go all out you could bake the pies and cakes from scratch, that was just too much to do with everything else. We ended up with an apple pie in a french vanilla cake and a pumpkin pie in a yellow cake. The process is pretty simple.
You need:
Pies
Cake mixes and ingredients to make them
frosting - we used cream cheese, but it is very very sweet, so feel free to do something else. Next time, we are going to do whip cream I think (and yes I said next time, as in we are going to make this monstrosity again!). We used 2 cans of frosting
9 or 10in round cake pans, having deep ones works out better - we used one that was pretty deep and another that was a standard size, and not all of the cake batter fit in the standard one.
 Isn't my baby sister so cute?!
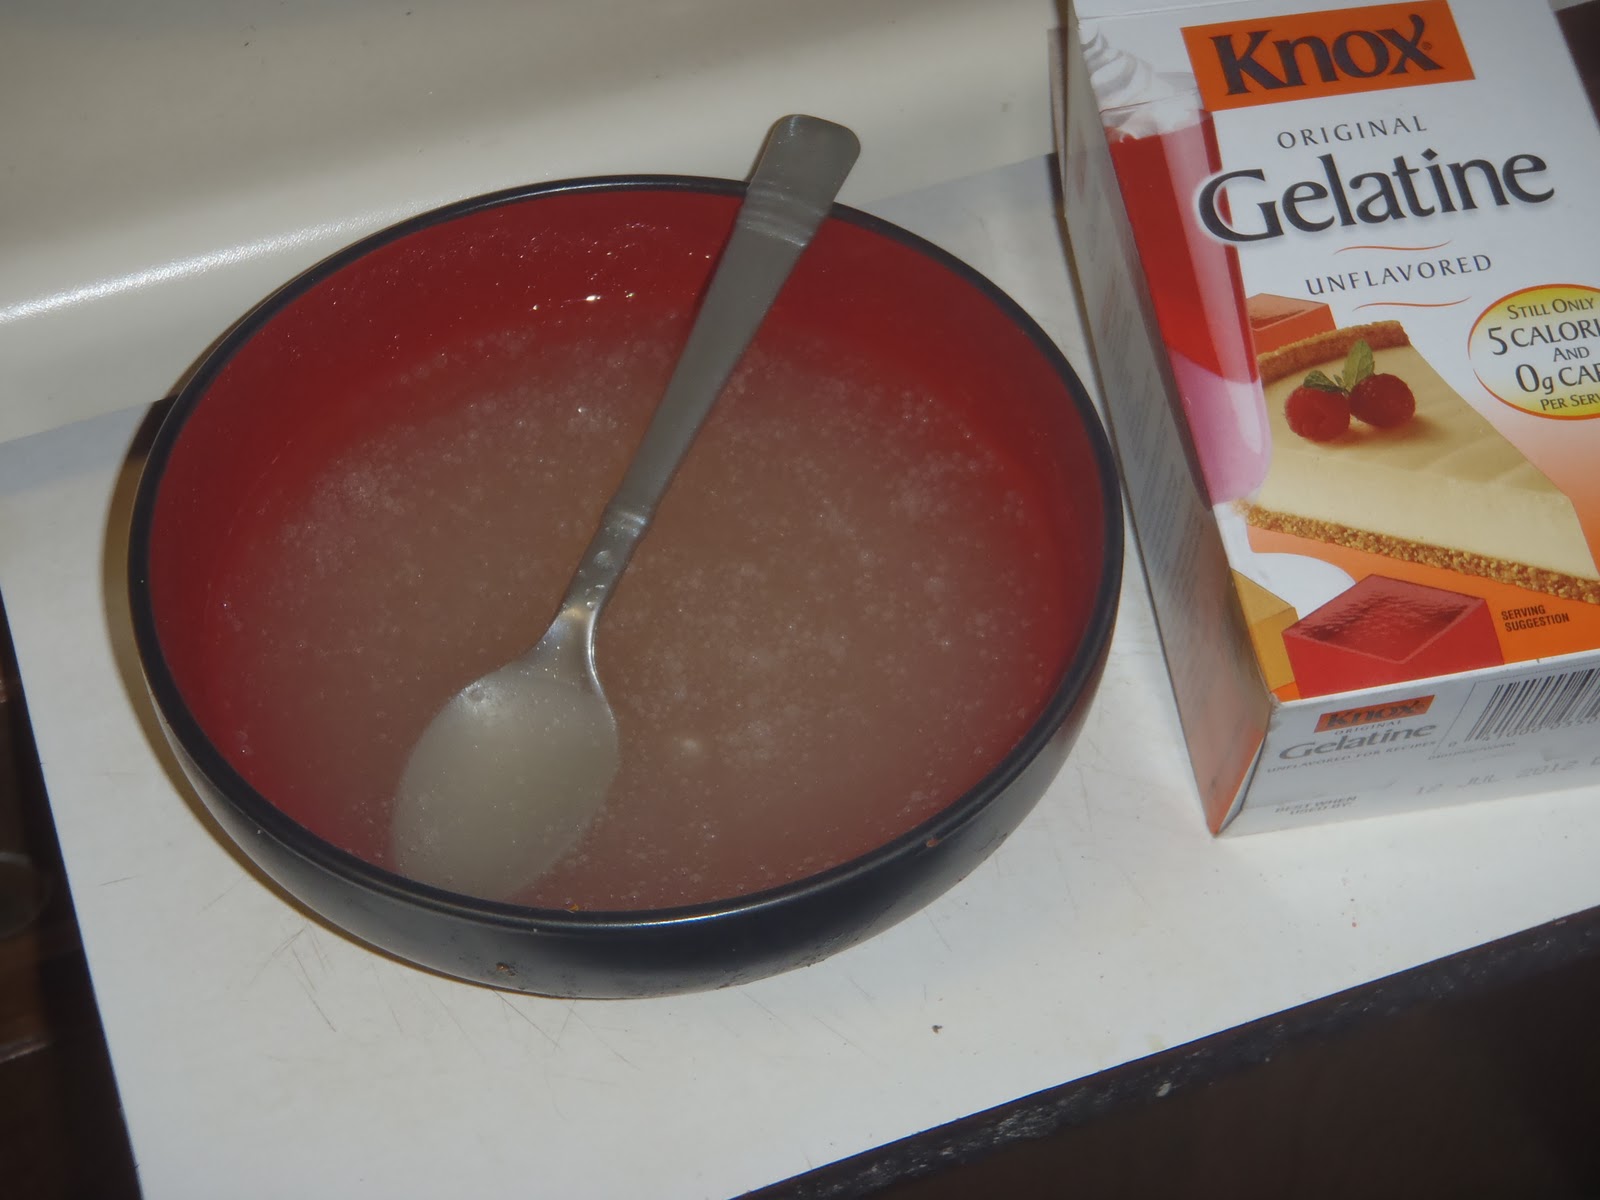
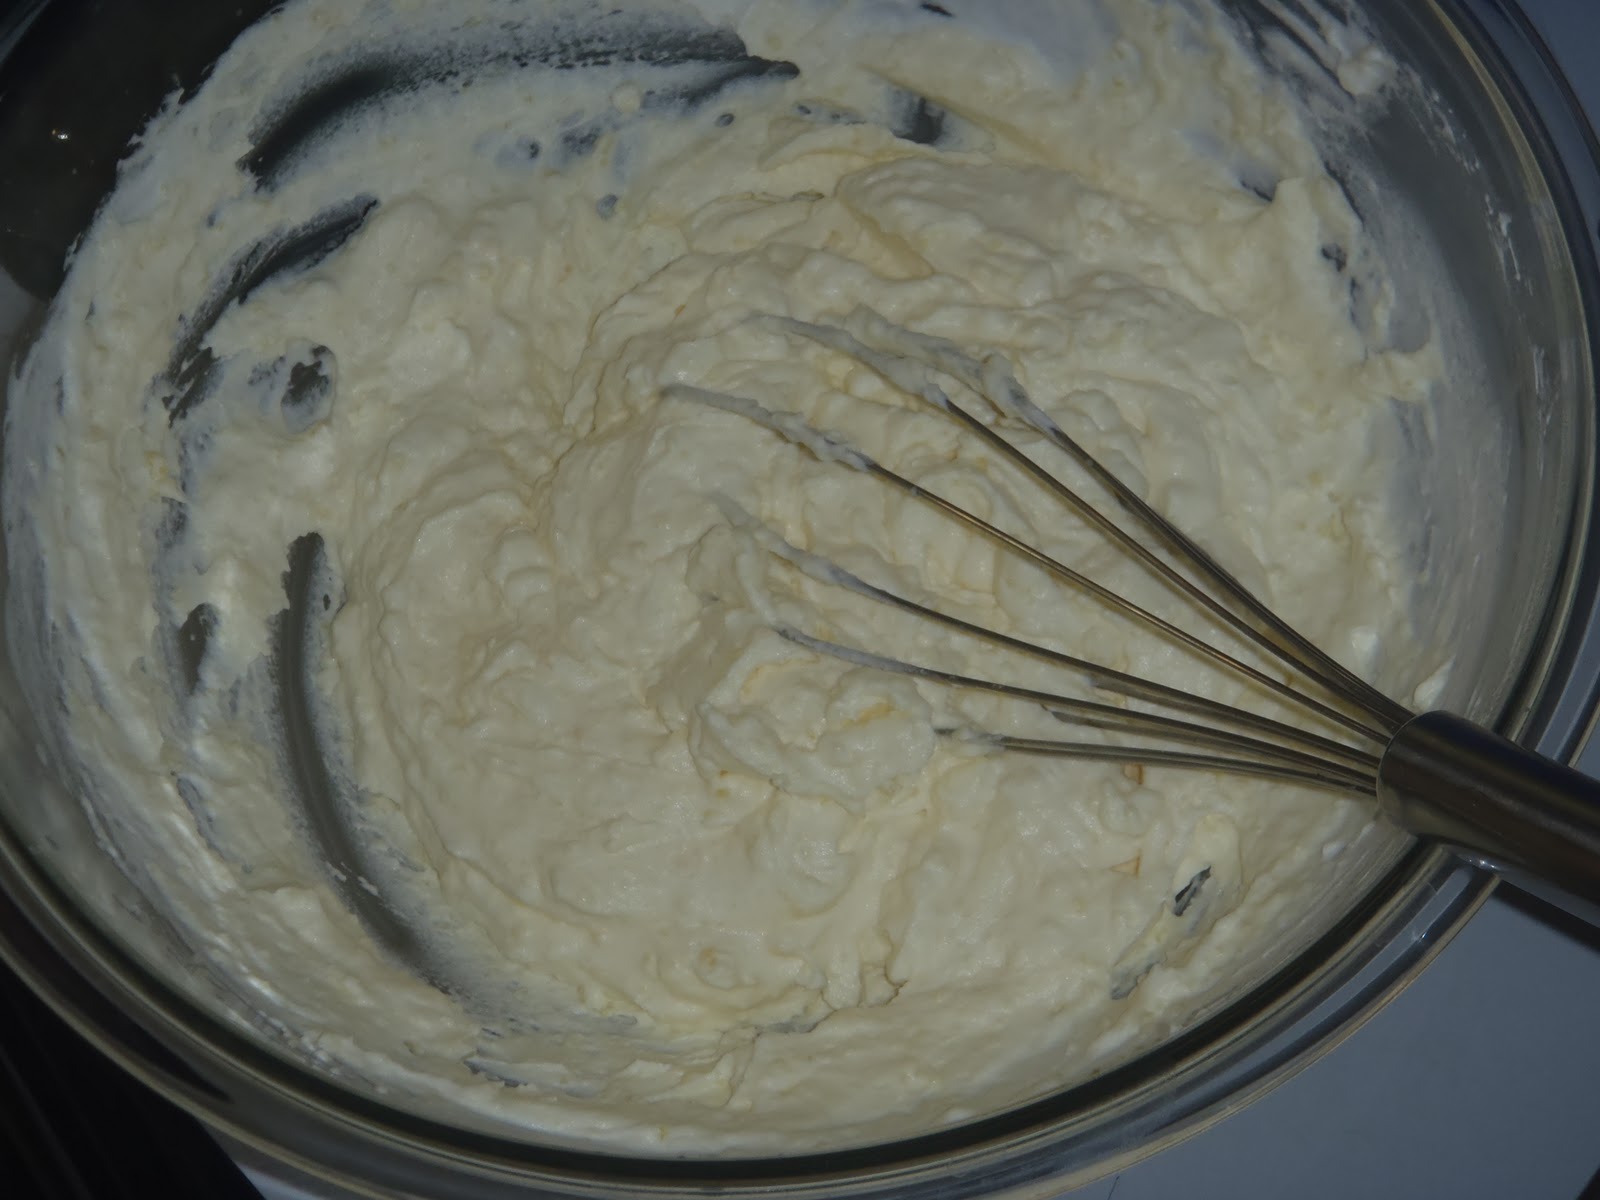
You start with pies that are completely cooled. So, if you are baking the pie do it the day before and let it cool so you can remove from the pie pan. Preheat oven to 350. Prepare your cake batter as directed. Pour a couple cups of cake batter in the bottom of a round cake pan that is VERY well greased and floured. (Heather learned from the trial run that the cake and pie bottoms will stick to the bottom of the pan) Removed the pie from the pie pan. It seems like this could be tricky, but ours came out of the pan quite nicely..thank you Vons for making your pies easy out! :) We opted to remove the extra bit of crust that is around the edge of the pie. 

Place the pie on the cake batter in the pan. 

Mom's cute too!
Then, pour the rest of the batter over the top. Don't overflow the pan, if it doesn't all fit that is fine - just make some cupcakes, which is never a bad idea!


Put these on a cookie sheet, and put in the oven. Now, they take quite a long time to bake. Heather did hers for almost an hour and half, I think. We did these for just over an hour, and we thought they were done, but when we cut them we discovered batter that wasn't fully cooked on top of each layer. So, really be sure that it is cooked. Poke it lots with a knife or toothpicks. As you can see, ours overflowed...a lot...somehow though, Heather did not have that problem on either of hers, so we have been trying to figure out why that is...but as long as you have the cookie sheet the overflow is totally edible!


Let these cool completely, and then its time to get them out of the pan and frost them. As long as you buttered up the pan really well you shouldn't have a problem getting them out the pan. We did a double flip, so they ended up right side up on the platter and frosted away. 

 Can you spot where the pie is in there?!

Because there was a lot of cutting away extra cake, the frosting wasn't coming out very pretty. We could have just kept adding it to make it look nice. but in order to save some of our sugar intake, we stopped the frosting and let it be. :) It was my brothers birthday a couple days before Thanksgiving, and he always has a pumpkin pie for his cake. Well, we decided that this should be his birthday cake. So, we put the candles in it and he blew them out, but he refused to eat it. He did eat about half his plain pumpkin pie though. :)


This is a very thick beast, and was a bit awkward to cut, I can't imagine how to cut a full three layer one, but I'm sure that it can be done!


 And there is it to enjoy!

Sunday, November 14, 2010

Peepee Teepee

I recently saw these as I was out shopping with a friend and thought they were a great idea, and I could come up with a way to make them...and here they are! :)
This is a peepee teepee, used for changing a baby boys diaper so the changer doesn't get sprayed on, just take the old diaper off and pop this on while the changing happens. I wasn't going to any boy showers anytime soon, so I filed them away in my mind for when I need to, but a friend has two boy showers to go to and so I made some for her to give as gifts at those.
It was fairly simple coming up with a way to make these, so here it goes.
  
The supplies are simple, some fun fabric for the outside, a soft fleece for the inside, and some ribbon. At the place I originally saw them they also had some made with a towel on the inside, but I liked the fleece (and had a bunch of it). For each one you are going to need a half circle of fabric and fleece. I just took a bowl and traced a circle as a pattern, used it to cut circles in the fabric and cut them in half. The bowl I used was about 7 inch diameter, but you could do a little bigger or smaller.
 Put right sides of fabric and fleece together and stitch around the curved edge

Turn right side out and stitch around the curved edge again, this will keep it stable and from the material moving around and losing shape.


Fold the semi circle in half, making a triangle and place the loop of ribbon along the center fold, with the loop on the inside and the edges sticking out from the raw edge.


Sew along the straight edge

 Trim the raw edge as close to the seam as possible. Turn right side out and you are done!
These are simple and fun to make, and easily customizable to the mom's favorite colors or patterns!

John Legend & Macy Gray


My favorite singer is John Legend, and I've been wanting to go see him live for a while, so when I heard him and Macy Gray were doing a Stand Up To Cancer benefit concert last weekend, I knew I had to be there!


So, Thomas and I went with my work wife, Day, and her sister and friend and we had an awesome time! The show was fantastic, and I just love John Legend even more. :)

Friday, November 5, 2010

Pumpkin Burgers

I love Halloween and one of my favorite parts about it is making pumpkin burgers. I don't remember a Halloween without these. They are simple and fun, and are really tasty, even when it isn't Halloween! The pumpkin in the name comes from the jack o lantern face that is put on the top of it, but you can get creative and cut out any sort of shape or face!
Ingredients:
Biscuits - I used Pillsbury to save time, but of course you could make your own
Ground beef
Onion
BBQ Sauce
Cheese
For mine this time, I used standard size biscuits,1 lb ground beef, 1/2 onion and it made 15, but they are small.

Steps:
Preheat oven according biscuit directions.
Brown ground beef and onion in skillet until cooked through

Put ground beef in a bowl and mix with BBQ sauce, I use just enough to coat, but you could make them extra saucy if you like. I love Sweet Baby Ray's sauce and would recommend it to all.
Flatten out a biscuit and place it on a greased cookie sheet.
 Top the biscuit with a scoop of the ground beef. , be sure to leave some biscuit space around the edge. Then top that with a bit of cheese.
Now take another biscuit and flatten it out. This time etch out a jack o lantern face in the biscuit. It's really a matter of just taking a butter knife and moving the biscuit around so you have nicely shaped holes in it. :) This is one activity that Thomas does like to do each year and he was very pleased with his baby vampire with only one tooth.

Then take the face a place it on top of the ground beef and cheese, pinching the edges of the biscuits together.

 
Bake for 8-10 minutes or until golden brown. Take out, let cool for a few minutes and enjoy!