
You can find many different recipes for marshmallows, but I've only ever tried this one because it works! :) This is from the Food Network magazine Dec 09 issue. The original recipe is for and 8x8 pan, but I doubled it and will put the doubled measurements here, because who wants such a small pan of marshmallows?!
Ingredients:
1 1/2 cups cold water
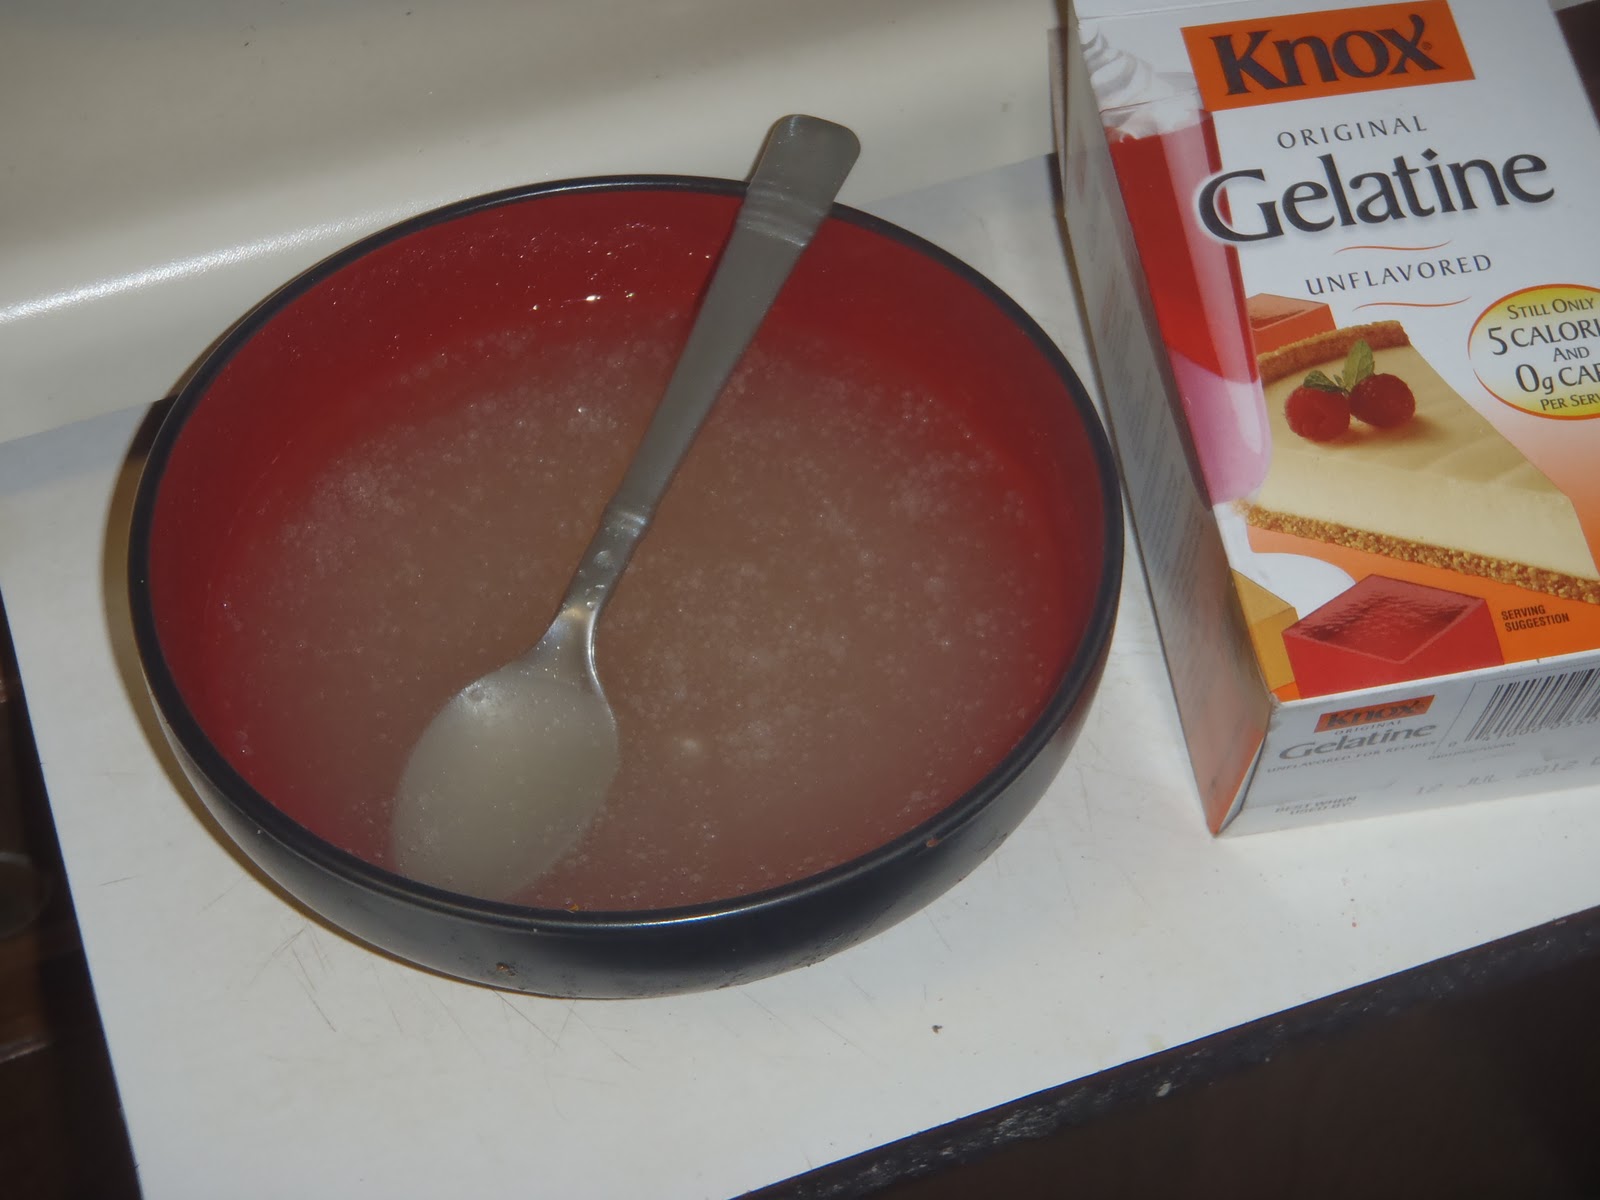
4 packets powdered gelatin (1/2 ounce each)
1 c powdered suger
1 c cornstarch
1 c corn syrup
3 c suger
1 c water
1 tsp Pure vanilla extract (or whatever flavor you want to use)
Combine 1 1/2 cups cold water with the gelatin packets and stir. Set aside to let thicken.
When you first put it on the stove it will look like this:


Keep the boil going for a few minutes, and you are going to notice that it will start to thicken up.


See the difference in these two?
So, you can keep the candy thermometer in to see when its done, or if you don't have one, take a glass of water pull just a bit of the mixture out and put it into the water. (This cools it so you can touch it) Reach in and grab the sugar mixture out. If it has dissolved, and you can't grab it, then it needs to cook longer. If you can grab it out and make a soft mold-able ball out of it, you are set!

While that is boiling, mix together the cornstarch and powdered sugar. Line a pan with wax paper, and coat it all with about half of the cornstarch mix. The recipe doesn't say to use wax paper, but just for ease of use I always have. You could be brave and go without it. :) Either way, be sure to coat the wax paper or pan with a good amount of the cornstarch mix, it will make your life easier later, and anything in excess with just fall right off later.


By now you gelatin will have thickened up quite a bit.

As soon as you know your sugar mixture is done cooking, pour into a large bowl and add the geltain. Then start beating. You will be doing this for quite some time. Be grateful if you have stand mixer and can just let it run...I do not...yet! So here is the breakdown in 5 min increments. If you have a more powerful mixer, it will take less time. You are going to beat until it is the thickness that marshmallows should be.
The start:


20 min in: Just about there!


No comments:
Post a Comment