Saturday, July 17, 2010

Key Lime Pie


Another birthday! This time it was my boss' and she requested Key Lime Pie. And, since I had never made a key lime pie before she even gave me a link to a recipe! :)
Before we get into the actual pie, I have to share a discovery. Land-o-lakes now makes their butter in cute little 4 Tbs half sticks. That's right, no more cutting a trying to wrap up those sticks of butter!Now, onto the pie. The recipe I used is from the Joy of Baking website, and it was quite simple.

Crust:
1 1/4 cup graham cracker crumbs
2 Tbs sugar
6 Tbs butter, meltedMix together the graham cracker crumbs, sugar, and better. Press onto the bottom and sides of a 9 inch pie pan. Cover and refrigerate while making filling.

Filling:
3 egg yolks
1 can (14 oz) sweetened condensed milk
1/2 cup lime juice2 tsp lime zest (I actually used quite a bit less than this and it was fine. I did the zest of one of the key limes for two pies.)First, get the limes juiced. Since it was late when I started this, I enlisted some help for the juicing of the limes, so I have to give credit to Thomas for doing this step. I did make clutch decision at the grocery store picking up the ingredients, and bought a juicer. It made the juicing process actually pretty quick, and I don't think Thomas would have done it by hand. (and I don't know if I'd want him to attempt that) :)
Preheat oven to 350. In bowl beat egg yolks until pale and fluffy. Gradually add the sweetened condensed milk and beat until its light and fluffy (7-9 minutes). Scrape down the dies and beat in lime juice and zest.Pour the filling into the crust, and bake for 10-15 minutes, (I ended up baking closer to 20), or until filling is set. Let it cool completely, cover, and refrigerate until serving time. Just before serving make the whip cream.Whip Cream
1 cup heavy whipping cream
2Tbs sugar
Put whipping cream in bowl, and beat until soft peaks form. Add sugar and beat until stiff peaks form. Put it on top of the pie and serve. You can just spread it on, but I think that piping it is simple and gives it that extra touch! :)


Thursday, July 8, 2010

Necklace

I have a bit of crafters add. I always want to do something new, usually make a thing or two and then ready for something else. So, I recently got a beading magazine, and was inspired to make a necklace.

It was making this initial little flower/snowflake and then repeating...a lot! :)Here is the set up...And the final project

Monday, July 5, 2010

Something to Celebrate!

This week was the opening of Eclipse. Needless to say, I was quite excited for this! We have a good group that are big Twilight fans, and we got together again to go to the midnight showing. I like to be properly attired for such occasions, so it was time to make a shirt! The work wife and I made new ones for this movie, most of the other gals wore theirs from the New Moon midnight showing. (And yes, we are totally those girls) :)
These were just a simple iron in paper with some bedazzles added on. And, if you don't get my shirt read the book...its totally worth it!In order to be able to stay up for the midnight showing, there had to be a pre-party. We all made something yummy to share. I was in a time crunch, for went with simple and made puppy chow aka Chex Muddy Buddies. Now, if you have never had this you are seriously deprived in life and need to make it now! So simple and so yummy!
You can fine the recipe on any Chex box, and can use any variety of Chex in it.

9 cups Chex
1 cup semisweet chocolate chips
1/2 cup peanut butter
1/4 cup butter or margarine1 tsp vanilla
1 1/2 cups powdered sugar
1. In large bowl measure cereal; set aside2. In 1-quart microwaveable bowl, microwave chocolate chips, peanut butter, and butter uncovered on high 1 minute; stir. Microwave about 30 seconds longer or until mixture can be stirred smooth. Stir in vanilla. Pour mixture over cereal, stirring until evenly coated. Pour into 2-gallon resealable food storage plastic bag. (I did not have a 2 gallon sixe bag, so I did it in a 1 gallon bag twice.)3. Add Powdered sugar. Seal bag; shake until well coated. Spread on waxed paper to cool. Store in airtight container in the fridge.

Friday, July 2, 2010

Eclipse


I haven't gotten a chance to say...I loved it!!
More to come, Friday evening, and still tired and recovering from the midnight showing Tuesday night. :)

Sunday, June 27, 2010

Pickle Cupcakes

Yep, you read it right! Pickle cupcakes! :) One of my favorite blogs is Cupcake Project and awhile ago one of her recipes was in People magazine, and I saw it and thought I wanted to try it out. Then someone sent me a link to 10 awesome cupcakes, and these were one of them so I knew that these just had to be made. Now, it seemed to me that there is only one occasion that you can make pickle cupcakes for...a baby shower! We were having a baby shower at the office, and so I demanded that I was going to make these and make them I did.Before we get into the actual making of the cupcakes, I have to show these, aren't they they cutest little pickles you have ever seen? We debated if they were meant for like a kid to take to school, and decided only a mean parent would send their kid to school with these, because after this there is no way that you wouldn't end up smelling like pickles for the rest of the day. But, they are adorable.
So here we go. I'd like to note that, no I'm not a big pickle fan. I don't mind them when they are on something, but I'm not one to just grab one out of the jar and have a snack. I just found these intriguing. Also, I decided to make these in a mini form, I thought that a pickle cupcake might be best enjoyed in small portions.Pickle Cupcakes from Cupcake ProjectMakes 8 cupcakes
  • 1 C flour
  • 3/4 t baking powder
  • 1/4 t baking soda
  • 1/2 t ground dill
  • 1/2 t salt
  • 1/4 t onion powder
  • 6 T butter, room temperature
  • 1/3 C sugar
  • 1 egg
  • 1/3 C sour cream
  • 1/3 C dill pickle juice (the liquid from the pickle jar)
  • 1/3 C finely chopped dill pickles
  1. Whisk flour, baking soda, baking powder, dill, salt, and onion powder in a medium-sized bowl.
  2. Beat butter and sugar in a large bowl until light and fluffy.
  3. Beat in eggs and sour cream until blended.
  4. Alternately fold in flour mixture and pickle juice, beginning and ending with the flour.
  5. Fold in the chopped pickles.
  6. Fill cupcake liners 3/4 full.
  7. Bake at 350 F for about 25 minutes or until a toothpick comes out of the cupcake clean. (For the mini cupcakes, I baked for about 15 minutes and they were perfect)
What do you top a pickle cupcake with? At The Cupcake Project she recommended vanilla ice cream, and I had to agree with that. The final verdict? Well, to me they were little pickle-y cups. They weren't as strong and vinegary as pickles, but definitely had that distinct dill flavor. People who were pickle lovers wanted more, and people who hated pickles hated these. :) The cupcake itself sure isn't a sweet dessert, but is more of a savory muffin flavor.

Tuesday, June 22, 2010

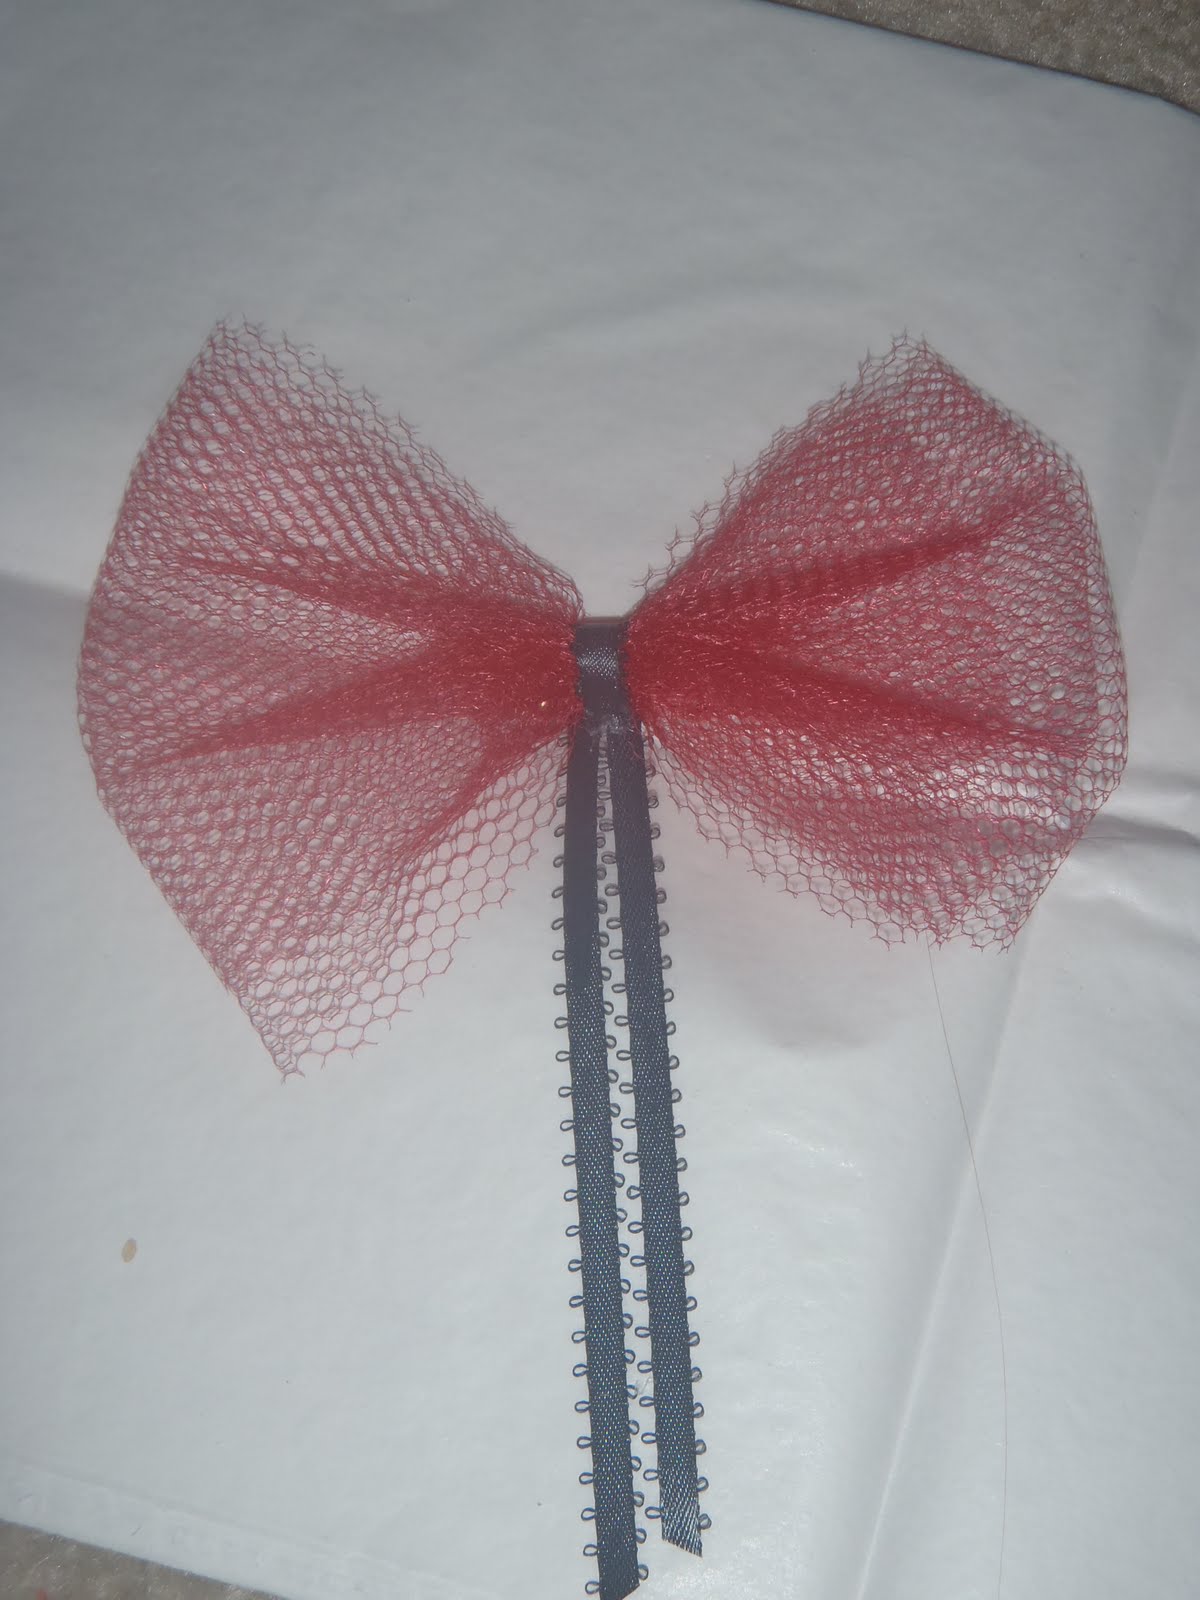
Some creativity for the end of Friends

So I have been rewatching Friends. That has to be one of my favorite all time shows. I just crack up every time. Well I recently made it through all the seasons, and as I was watching season 10 and knowing it was coming to an end I needed something to keep me busy while I was watching. So I filled my living room floor with flowers, feathers, and tulle and made some hair clips and pins.

Monday, June 21, 2010

Apple Pie a la Katrina

Apple Pie...
Thomas loves apple pie. I do not. I've never been a fan of it, or any baked fruit really. But he still asks me to make apple pie all the time. Well, we bought too many apples the other day so I broke down and finally made one. My little sister makes an apple pie Thomas has always liked, and it is pretty simple so I asked her for the recipe. Here it goes. (I used a pre made crust...one of these days soon I'll get to making my own, just need to get a pastry blender...)

Pie Crust
(or you could use a pre-made one)
1 1/2 cup all purpose flour
1/2 teaspoon salt1/2 cup shortening
4-5 tablespoons cold water (we actually used like 7 or 8 at least)
stir together flour and salt. cut in shortening with pastry blade or 2 knives until pieces are the size of small peas. sprinkle water over one tablespoon at a time tossing mixtyre after each addition. form into a ball. flatten dough on lightly floured surface. roll 1/8 inch thick from center to edge. use spatula to fold into fourths, lift and place in ungreased pie pan. cut crust about 1/2 inch from outside of pie pan. fold over and crimp edges. (so we just rolled it out and put it in the pan so it looked like a crust. made sure there was like 1/2 an inch above the pan, folded it over, and pinched it by using your thumb and index finger with your other index finger between them) fill and bake.

Apple Filling
6 granny smith apples
1-1 1/2 teaspoon cinnamon
2 tablespoons lemon juice
1 cup sugar
1/4 cup flour
In a plastic bag place sugar, cinnamon, flour, and lemon juice, mix well. peel apples and slice thinly. Add apples to mix and thoroughly coat (hands work best). Put apples into 9 in uncooked pie crust.
(Note, I used a 9 inch deep dish crust, and it was FULL)

Crumb Topping
1 cup flour
1/2 cup softened butter
1/2 cup brown sugarMix together and pat on top of apples
So last time she made this it was completely burnt, so she was a little afraid to tell me how long to cook it. This is what she said, "so im a little afraid to tell you how to cook it because i burned it last time... it cooks at 350 but obviously not for an hour and a half. i think it might actually be like 45 minutes but i would keep an eye on it."Indeed, it cooked at 350 for about 50 minutes. Be sure to put this thing on a cookie sheet, all that apple sugary goodness will leak out.